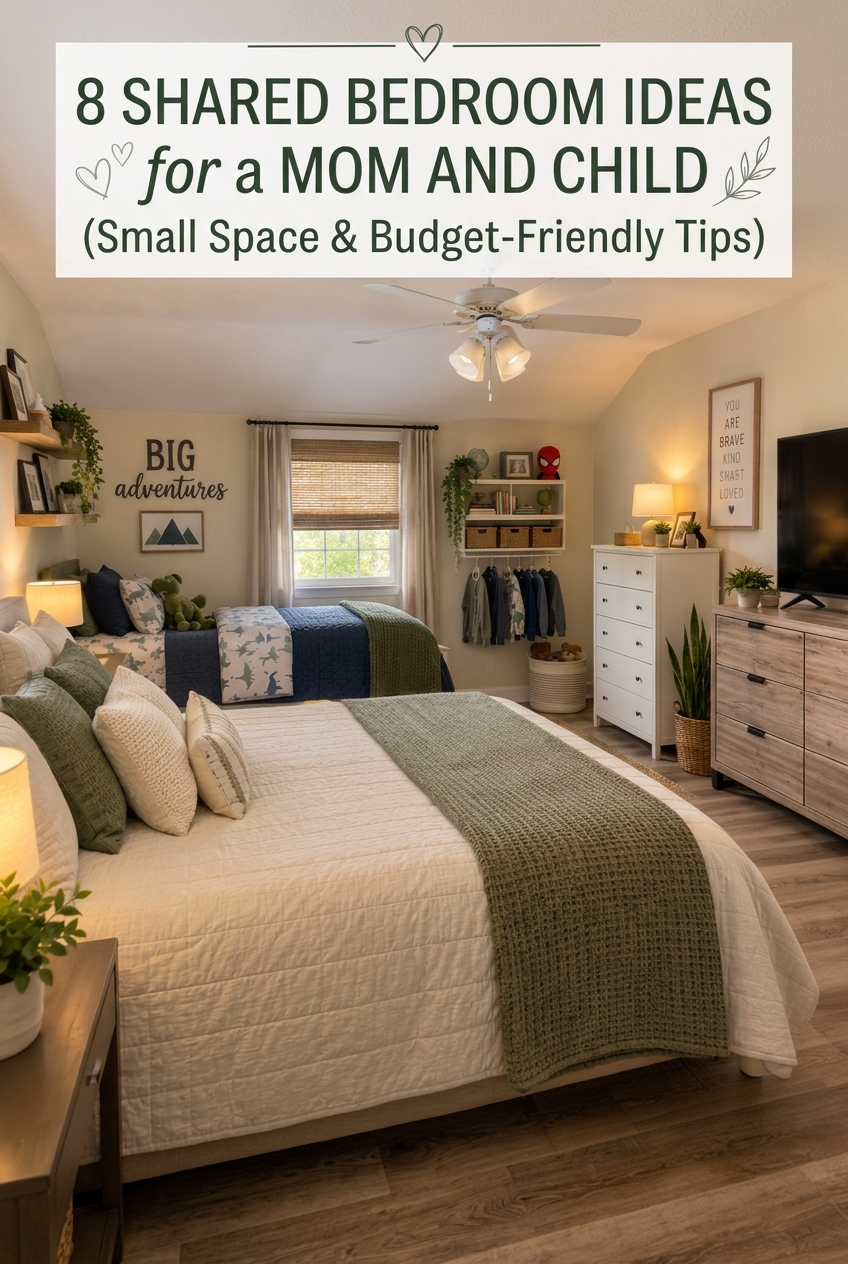
A shared bedroom doesn't mean sacrificing comfort, style, or personal space. When I needed to turn my bedroom into a shared space for my son and me, I had to get creative with the layout, storage, and decor while working with a limited budget.
If you're looking for shared bedroom ideas that make the most of a small space, I'll walk you through how I transformed our room, the simple changes that made a difference, and affordable organization tips to help you create a cozy space for everyone.
Disclosure: This post contains affiliate links that are at no additional cost to you, I may earn a small commission. All Products are linked in Blue.
Why I Decided to Create a Shared Bedroom for My Son and Me
There are many reasons one may choose to downsize; for me, it was after being laid off. When I found myself needing to make room for a family member in our two-bedroom home, I knew I had to rethink how we were using our space. My son and I would be sharing my bedroom, so I had about a month and a half to figure out how to make everything fit comfortably.
At first, I wasn't sure how I would fit two beds, our clothing, furniture, and all of our everyday belongings into one room. I also didn't want the space to feel crowded or like we were simply squeezing everything together.
Instead of investing in a completely new bedroom setup, I decided to work with what we already owned and make a few thoughtful changes. I started thinking about better storage, a more functional furniture layout, and simple decor choices that would help bring both of our styles together.
My goal was to create a room where we could both feel comfortable, have our own little spaces, and keep things organized without spending a fortune. The first step was getting rid of the things we no longer needed. 💛
Step 1: Declutter
Before moving furniture or organizing our belongings, I knew I needed to declutter. Sharing a bedroom meant finding space for two people's clothing, personal items, and everyday essentials, so bringing everything into the room without getting rid of anything would only make it feel more crowded.
I started by going through my belongings and deciding what I actually needed, what I still used, and what I could donate or get rid of. I also did the same with my son's things, making sure we weren't holding on to items we had outgrown or no longer used.
This step made a bigger difference than I expected. Not only did it free up space, but it also helped me see what we actually needed to store and organize.
A few simple decluttering tips to get started:
Sort through clothing: Set aside anything that no longer fits, is damaged, or isn't being worn.
Get rid of duplicates: Keep the items you use most and donate extras you don't need.
Clear out unnecessary belongings: Go through drawers, shelves, and storage bins.
Separate seasonal items: Keep clothing and belongings you won't need right away in a separate pile for storage.
Once I had a better idea of what we were keeping, I could focus on the next challenge: planning a bedroom layout that would comfortably fit both of us.
Step 2: Bedroom Layout
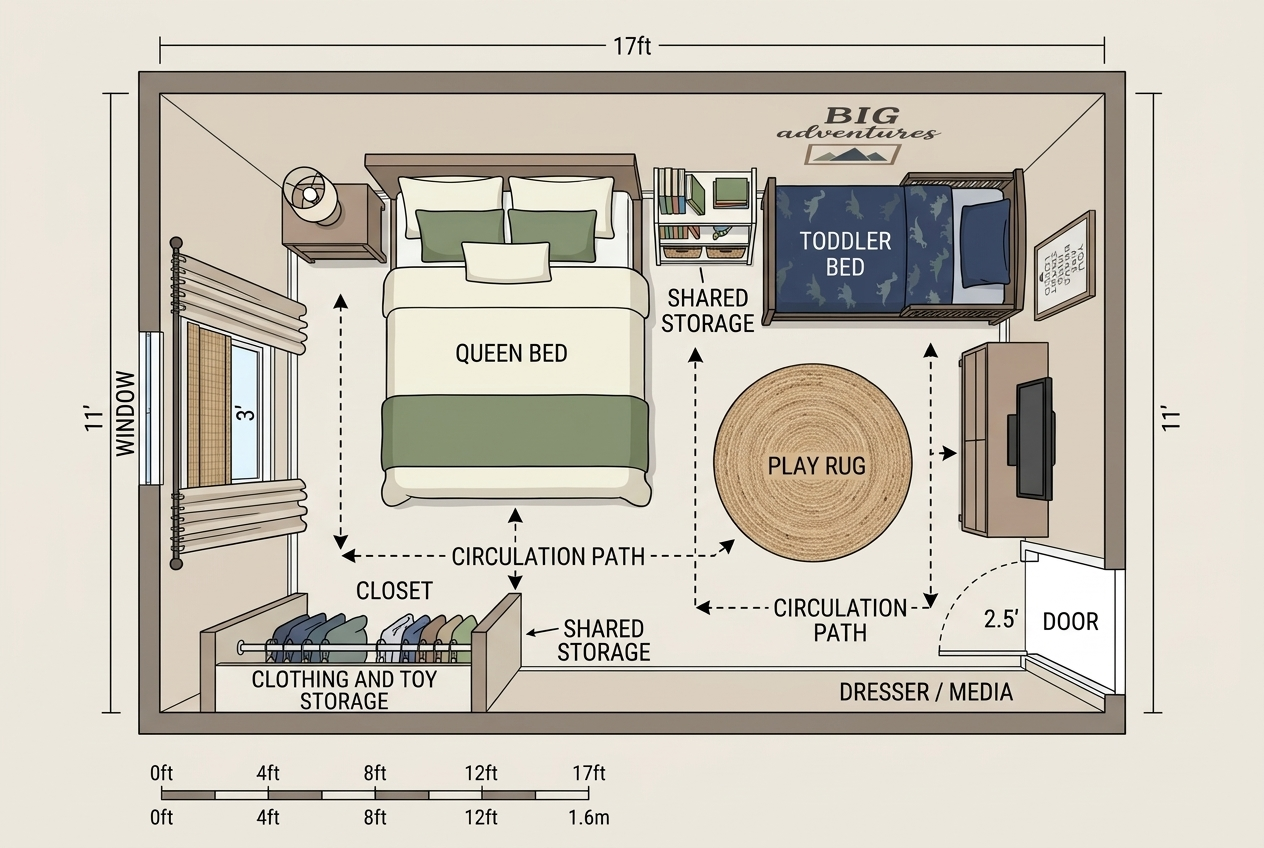
Before moving any furniture around, I wanted to make sure everything would actually fit. Our bedroom measures approximately 17.4 x 11.5 feet, which gave me enough room to work with, but I still needed to be intentional about the layout.
I decided to use the longest wall for both beds and place our dressers along the opposite walls. This allowed us to have separate sleeping areas while keeping the middle of the room as open as possible.
One thing that helped tremendously was measuring all of our furniture before moving anything. I measured the beds, dressers, and other larger pieces to make sure they would fit in the spaces I had planned for them.
If you're trying to create a shared bedroom, I highly recommend doing this before purchasing anything new or rearranging your entire room. Even a little planning can save you from moving heavy furniture multiple times!
A few tips for planning a shared bedroom layout:
Measure your room: Write down the length and width so you know exactly how much space you're working with.
Measure your furniture: Include beds, dressers, nightstands, and any additional storage pieces.
Think about walking space: Leave enough room to comfortably walk between furniture and access closets and doors.
Use your walls strategically: Consider placing larger furniture pieces along the walls to keep the center of the room open.
Create separate zones: Give each person a designated area for sleeping, clothing, and personal belongings.
A few tools that help with planning
An essential tool for measuring your room and furniture.
Helpful when rearranging heavier furniture without struggling to move it across the floor.
A simple planning tool that can help you visualize different furniture arrangements before committing to one.
Step 3: Closet Space
One of my biggest challenges was figuring out how to fit both of our clothing into a closet that was already very small. Clothes take up a lot of space, and I knew there was no way everything would fit if I didn't get creative with storage.
Instead of trying to squeeze everything into the closet, I looked for ways to free up space and store items we didn't need access to every day.
One of the simplest solutions I found was vacuum storage bags. I used them to store seasonal clothing that we weren't currently wearing. Once the bags were compressed, I could easily slide them underneath my bed, keeping those items out of the closet but still accessible when needed.
Here are a few affordable products worth considering if you're trying to maximize your storage space:
Perfect for compressing seasonal clothing, bulky sweaters, and extra bedding.
Under-Bed Storage Bags or Containers
Use the space under your bed for clothing, blankets, and other items you don't need every day.
Great for organizing smaller items, accessories, and folded clothing.
Add extra shelves inside your existing closet without having to install a permanent storage system.
Help maximize hanging space when you have more clothing than closet rod space.
Once I figured out how to manage our clothing and belongings, I could move on to the next important step: replacing my old bed frame.
Step 4: Small Changes & Updates
One of the biggest changes I made was replacing my old bed frame. My bed had to go in front of the longest window in the room, but my original headboard was too tall and would have blocked a lot of the natural light.
I didn't want to lose that light, especially since we were now sharing the space. I wanted the room to feel as open and bright as possible rather than having a large piece of furniture taking up the visual space in front of the window.
So I sold my bed frame, and it made a noticeable difference. It allowed more natural light into the room and helped the space feel less crowded.
If you're working with a small bedroom, sometimes you don't need to get rid of a lot of furniture. You just need to rethink which pieces are taking up the most visual space.
A few small changes that can make a shared bedroom feel bigger:
Choose a low-profile bed frame: A lower frame can help create a more open look, especially when a bed needs to sit near a window.
Avoid oversized headboards: Large, bulky headboards can make a smaller room feel crowded.
Keep windows unobstructed: Allow as much natural light into the room as possible.
Choose furniture with a simple design: Clean lines and less bulky furniture can help create a more spacious feel.
Use mirrors strategically: Mirrors can reflect natural light and help a room feel brighter.
Affiliate finds worth considering:
A small furniture change can sometimes make a bigger difference than buying several new decor items. With the furniture layout in place and more natural light coming into the room, I was ready to tackle another important detail: the wall color.
Step 5: Neutral Paint Color
Another change I knew I wanted to make was repainting the bedroom. Before this transformation, the walls were a dark purple color that I had never gotten around to changing since moving in.
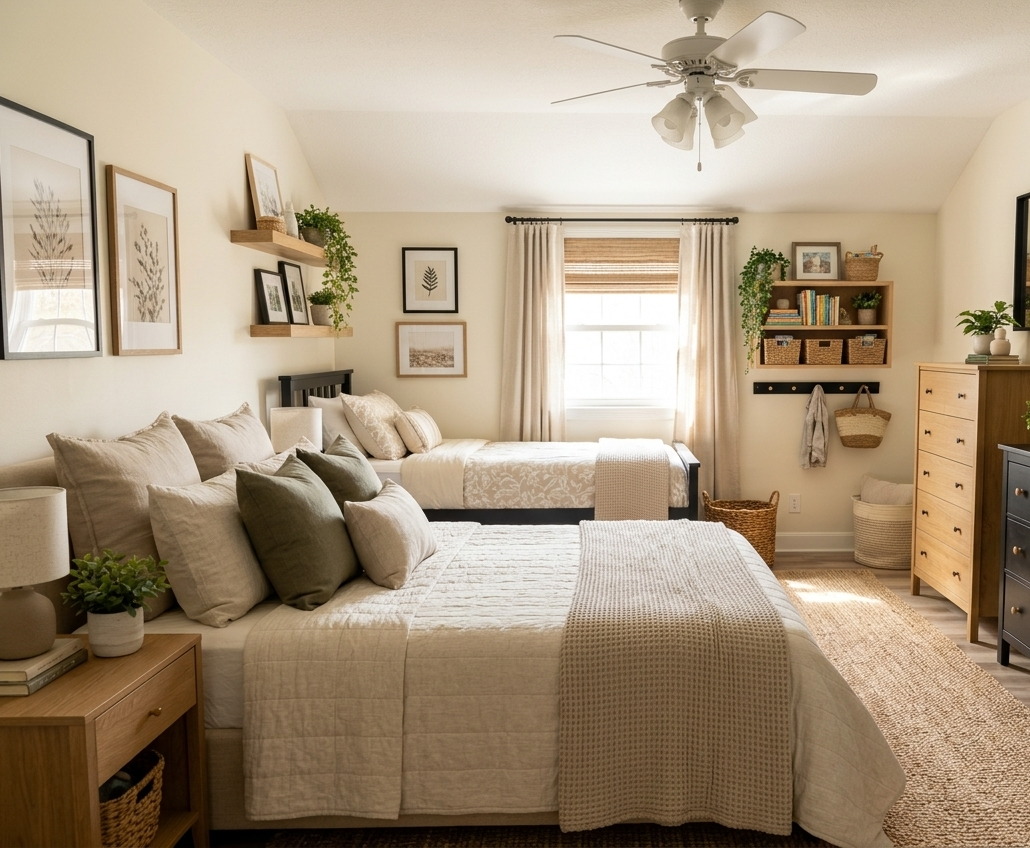
With two different furniture styles coming together, I wanted a wall color that would make everything feel cohesive without clashing. My son's bedroom furniture is black, while most of mine has more natural wood tones. I needed something neutral that would work with both.
I decided to go with an off-white paint color. It instantly gave the room a lighter, fresher feel and created a simple backdrop for both of our furniture and belongings.
A few paint and decor tips for a shared bedroom:
Choose light, neutral colors: Off-white, warm beige, and soft greige can help create a calm atmosphere.
Consider your existing furniture: Pick a wall color that complements the furniture you already own.
Use bedding to add personality: Let each person choose bedding or accents that reflect their individual style.
Keep the overall color palette simple: Coordinating colors can help two different furniture styles feel connected.
Don't overlook the finish: Consider a washable paint finish for a bedroom that gets everyday use.
Affiliate finds to help refresh your bedroom:
Now that the walls were refreshed and the room started to come together, I still had one more challenge to solve: making sure my son had his own designated space for clothing and storage.
Step 6: Additional Storage Area
One thing I knew from the beginning was that our small closet wasn't going to be enough for both of us. Even after decluttering and organizing our clothing, I still needed to find a way to give my son his own designated space for his clothes and everyday belongings.
My solution was to purchase a small closet and shelving unit from IKEA. I placed it on his side of the bedroom, which gave him his own little clothing area without taking up too much additional space.
Remember, you don't necessarily need a large wardrobe or an expensive closet system to make this work. A small clothing rack, compact wardrobe, or shelving unit with storage baskets can accomplish the same thing.
A few storage ideas for creating your child's own space:
Add a small wardrobe: A compact wardrobe can provide hanging and folded clothing storage without taking up an entire wall.
Use shelving units: Open shelves are great for organizing clothing, books, toys, and everyday essentials.
Add labeled storage baskets: Give your child an easy way to keep smaller belongings organized.
Create a designated clothing area: Keep their everyday clothing together so getting dressed and putting things away becomes easier.
Make use of vertical space: Choose taller storage pieces when floor space is limited.
Affiliate finds to consider:
Similar IKEA-Style Closet Unit I used
With both of us having designated storage areas, the room was finally starting to feel more functional. Now it was time to focus on the fun part: decorating and bringing everything together without spending too much money.
Step 7: Bedroom Decor
Once the furniture was in place, the storage was organized, and the walls were freshly painted, it was time to bring the room together with a few decorative touches.
Because I knew this arrangement wasn't something I wanted to invest a lot of money into, I decided to reuse as much as possible. I didn't want to purchase an entirely new bedroom set or spend money replacing furniture that was still perfectly functional.
Instead, I focused on making small changes that would help the room feel cozy, organized, and comfortable for both of us.
One thing I found helpful was keeping the larger pieces of furniture simple and using smaller decorative items to add personality. This allowed my son's belongings and my more natural wood-toned furniture to work together without making the room feel mismatched.
A few affordable decorating ideas for a shared bedroom:
Use coordinating bedding: You don't need identical bedding, but choosing complementary colors can help bring the room together.
Add decorative baskets: They're practical for storage while also adding texture and warmth.
Incorporate a bookshelf: A small bookshelf can keep your child's favorite books organized and accessible without taking up too much space.
Use wall decor: Pictures, framed prints, and simple wall art can add personality without taking up valuable floor space.
Add cozy lighting: Bedside lamps or wall-mounted lights can create a comfortable atmosphere while freeing up surface space.
Bring in soft textures: Throw blankets, pillows, and area rugs can make the room feel more inviting.
Affiliate finds to help decorate on a budget:
At this point, I realized that creating a shared bedroom wasn't about having everything perfectly matched or buying all new furniture. It was about finding simple ways to make our space functional while still making it feel like home.
Step 8: Bedroom Organization Ideas
Creating a shared bedroom is about more than finding room for two beds. You also need to think about everyday routines, clothing, toys, books, and all the little things that can quickly make a room feel cluttered.
After going through this process, I realized that a few simple organization habits and space-saving solutions can make sharing a bedroom much easier.
If you're looking for more shared bedroom ideas to keep your space functional, here are a few additional tips worth trying:
Give Everything a Designated Place
When two people share one room, it's easy for belongings to get mixed together. Give each person their own drawers, baskets, shelves, or storage area so everything has a place.
Take Advantage of Vertical Storage
When floor space is limited, look up! Wall shelves, hanging organizers, and tall storage units can provide extra room without taking up too much floor space.
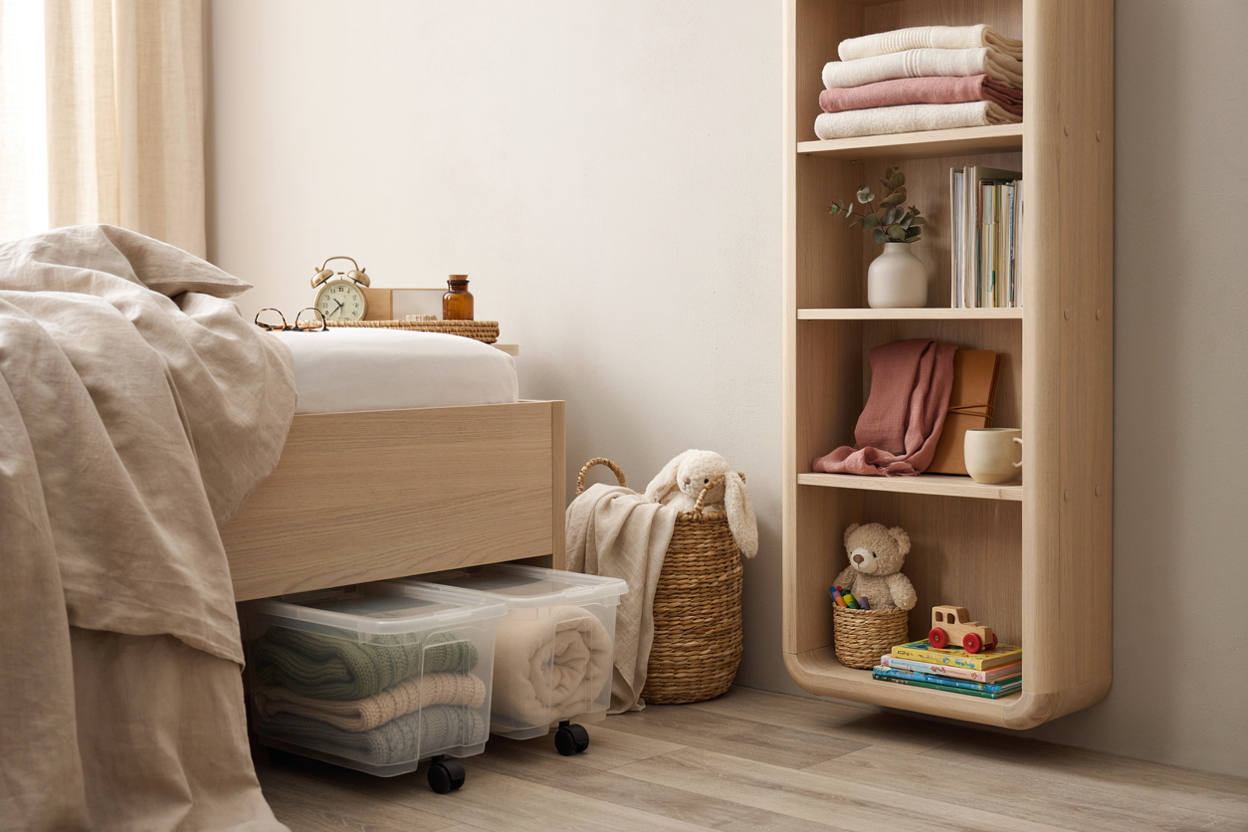
Use Under-Bed Storage
The space underneath your bed is valuable storage real estate. Use it for seasonal clothing, extra bedding, shoes, or items you don't need every day.
Keep Nightstands Simple
Instead of adding large nightstands on both sides of the room, consider smaller bedside tables or hanging bedside organizers. This gives each person a convenient place for everyday essentials without taking up too much room.
Create Separate Personal Spaces
Even if you share the same room, try to give everyone a little area that feels like their own. This could be a small bookshelf, a designated dresser, or a section of the room for personal belongings.
Make Organization Easy for Your Child
If you're sharing a bedroom with a younger child, choose storage solutions they can easily reach and use. Low baskets, accessible shelves, and labeled bins can encourage them to put their belongings away.
Shared Bedroom Ideas can still be comfortable.
Sometimes the best shared bedroom organization ideas aren't complicated or expensive. They're simply small changes that make everyday life a little easier.
Creating a shared bedroom for my son and me taught me that you don't always need more space. Sometimes, you just need to learn how to make better use of the space you already have.
I also learned that you don't have to spend a lot of money or purchase all new furniture to make a room feel comfortable. Start with what you already own, get creative with your storage, and make changes that fit your family's needs.
If you're currently sharing a bedroom with your child or trying to make a small bedroom work for two people, I hope these shared bedroom ideas give you a little inspiration and show you what's possible.
Looking for more inspiration?
I've put together a collection on Benable with additional shared bedroom ideas, space-saving furniture, storage solutions, and decor finds to help you create a cozy and functional space.
Remember, your space doesn't have to be perfect. It just needs to work for you and the people who call it home. 💛
| Click here to check out the additional Shared Bedroom Ideas list
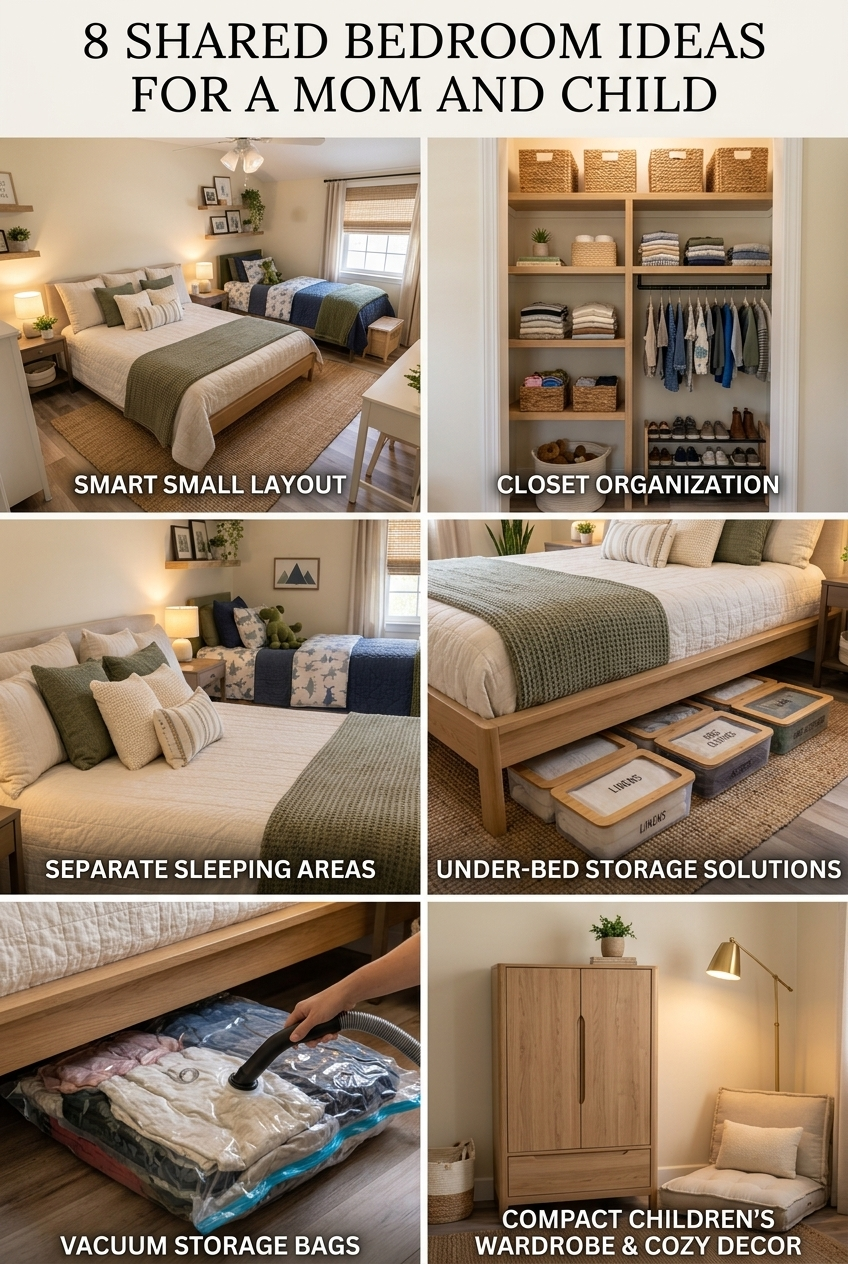
📌 Save This Pin for Later!
Love these shared bedroom ideas? Save this post to your Pinterest board so you can come back to these tips whenever you're ready to organize, decorate, or transform your own shared bedroom!